I however did find a secret weapon that helped.
I watched YouTube Videos on 'How to Remove Wall Paper' and it all looked easy.
Just wipe with hot water, spray with hot water, use Dawn, and it will just peel right off and then you wash with hot water and vinegar --- or Dawn Dishsoap and get the glue off.
Easy Peasy.
Wrong. All the walls shown had been primed.
Suggestions for taking wall paper off from un-primed walls?
Take down the drywall and start over.
Wow, that was not helpful and not what I wanted to hear. Another person wrote, get a steamer and it goes really well. The trick is hot water.
I started thinking about the Dawn Dishsoap and how it breaks down the water surface tension and allows the water to soak into the material.
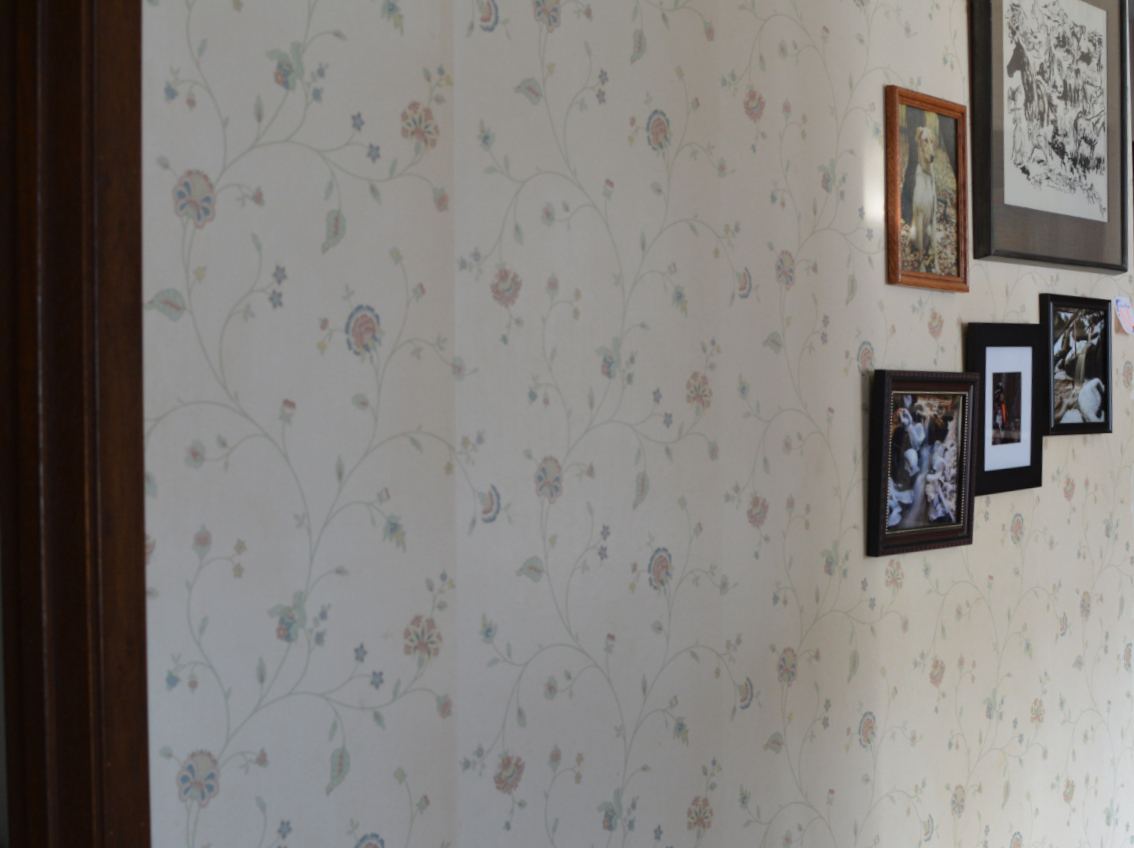
This paper was nasty grungy. After taking down the wall of photos I was grossed out completely.

Yuck.
Above the small closet door that is under the stairs:
Super yuck. Why hadn't I seen it?
In truth, I wanted to get rid of the wall paper years ago, but Rich didn't want to start a project like that.
So I began to ignore the ugly stuff. I thought...one day I will get the chance to remove it!
And ... now I do.

Morris is on the stairs supervising the stripping.
And it doesn't come off very easily.
So I decided to take some Oxyclean and dab it onto a cloth, then wipe the surface of the wall paper and spray it with warm water.
Well not only did it help the water absorb into the wall paper, but it took some of the grunge out too. Of course I sprayed up towards the ceiling and then wiped with the Oxyclean cloth and found that my ceiling was going to need a very good cleaning also.
Insert a large groan ... however I am prepared for that and I figured it would be coming next.
Meanwhile, back to the paper. Sometimes it would come off in larger strips and sometimes it wouldn't.

Between chores and errands, this section took all day. I'd be really discouraged if I had larger rooms to do. But this is such a small house that I only have two partial walls left.
I was extremely surprised at how much cleaner and brighter the wall was after the paper removal.

Considering that it wasn't a primed wall, I didn't do too badly. Some of the dry wall finish came off but hopefully we will be able to repair that fairly easily.
Meanwhile Rich has been working on the bricks that had been put in the living room when Glen owned the house and had a wood burning stove on it.

Before the work started


This is a dusty and very noisy project so hubby has been doing it a bit at a time.
He will also be removing the very very dark paneling and replacing it with light colored 'car siding'. He wants to retain the 'cabin' look with wood and I wanted bright and light walls.
This will be our compromise.
So onward.
Morris?
He is getting accustom to the work now. He still dislikes the shop vac but it doesn't freak him out anymore.
I might take a day or two off from the wall paper peeling. I'd like to do some hiking now that the outdoor temps have risen above the zero mark.